How to Make Beef Jerky in the Oven (Step-by-Step)
Every time I smell beef jerky, it takes me back to family camping trips. Those trips taught me that the best snacks come from love and creativity in your kitchen. Making homemade beef jerky without a special machine is easy.
Making your own snack lets you choose what goes into it. It’s great for hiking or a quick energy boost during busy days. You don’t need a fancy machine; just your oven and some passion for cooking.
This guide will show you how to turn regular beef into a tasty, protein-rich snack. You’ll learn how to make jerky that’s just right for you. It’s seasoned perfectly, has a great texture, and tastes exactly as you like it.
Table of Contents
Essential Equipment and Ingredients for Homemade Beef Jerky
To make tasty beef jerky at home, you need the right stuff. You don’t have to have special meat drying gear. Just your kitchen will do.
Best Cuts of Beef for Jerky Making
Picking the right beef is key for great jerky. Lean meats are best for a top-notch snack. Here are the top cuts:
- Eye of round roast
- Sirloin tip roast
- Flank steak
- Top round
- Bottom round
Marinade Ingredients and Seasonings
The marinade makes your jerky taste amazing. Fresh ingredients are a big deal for flavor and quality. A basic marinade has:
- Soy sauce
- Worcestershire sauce
- Black pepper
- Garlic powder
- Onion powder
Kitchen Tools You’ll Need
You can make jerky with basic kitchen tools. Meat drying gear is nice, but you can do it with what you already have.
| Essential Tools | Purpose |
|---|---|
| Sharp knife | Slicing meat into thin, uniform strips |
| Baking sheet | Drying meat in the oven |
| Wire rack | Allowing air circulation during drying |
| Mixing bowl | Preparing marinade |
With these tools and ingredients, you’re all set for homemade jerky. The right prep turns simple ingredients into a tasty, protein-rich snack.
Preparing the Meat for Perfect Jerky
Making tasty beef jerky begins with picking the right meat. Your success in making jerky at home depends on choosing the right meat and preparing it well. This ensures the best results.
Before starting with your jerky maker, pick the right beef and prepare it. Here are the key steps to turn your meat into tasty jerky:
- Choose lean cuts of beef like top round, bottom round, or sirloin tip
- Remove all visible external fat to prevent spoilage
- Chill the meat for easier slicing
Getting perfect jerky slices requires precise meat preparation. Flash freezing is a pro trick for uniform, thin cuts. Freeze your beef for 30-45 minutes until it’s almost frozen but soft. This makes slicing easier and ensures even thickness.
When slicing, aim for pieces between 1/8 to 1/4 inch thick. Cut against the grain for tender jerky. A sharp knife or meat slicer will help you get professional-quality cuts.
- Slice meat when it’s partially frozen
- Use a sharp knife or meat slicer
- Cut against the meat’s grain
- Maintain consistent slice thickness
By following these steps, you’ll lay the groundwork for making top-notch beef jerky at home.
Creating the Perfect Marinade Blend
Making a great marinade is key to turning regular beef into tasty jerky. Your marinade adds flavor and helps keep the meat fresh during drying. It’s essential, whether you’re using a food dehydrator or your oven.
Basic Marinade Recipe
Begin with a classic marinade to enhance your beef. Here’s a simple yet tasty recipe:
- 1/2 cup soy sauce
- 1/4 cup Worcestershire sauce
- 2 tablespoons brown sugar
- 2 teaspoons garlic powder
- 1 teaspoon black pepper
- 1 teaspoon smoked paprika
Flavor Variations and Spice Combinations
Try different flavors to make your jerky unique. A jerky drying rack lets you test various seasonings at once. Some great options include:
- Spicy Chipotle: Add 1-2 teaspoons of chipotle powder
- Teriyaki Style: Use honey instead of brown sugar and add ginger
- Peppered Kick: More black pepper and red pepper flakes
Marinating Time and Temperature Guidelines
Good marinating is vital for rich flavors. Put your beef in a big zip-lock bag, add marinade, and seal. Refrigerate for 6-24 hours, flipping the bag to coat evenly. Keep the fridge at 36-40°F to avoid bacteria while flavoring the meat.
Setting Up Your Oven for Jerky Making
Turning your home oven into a meat drying machine needs careful steps. Even without a commercial beef dehydrator, your oven can make great jerky. Just set it up right.
To make the best jerky, focus on a few important things:
- Select an oven with precise temperature controls
- Use rimmed baking sheets for optimal air circulation
- Prepare wire racks to elevate meat strips
- Ensure proper ventilation during the drying process
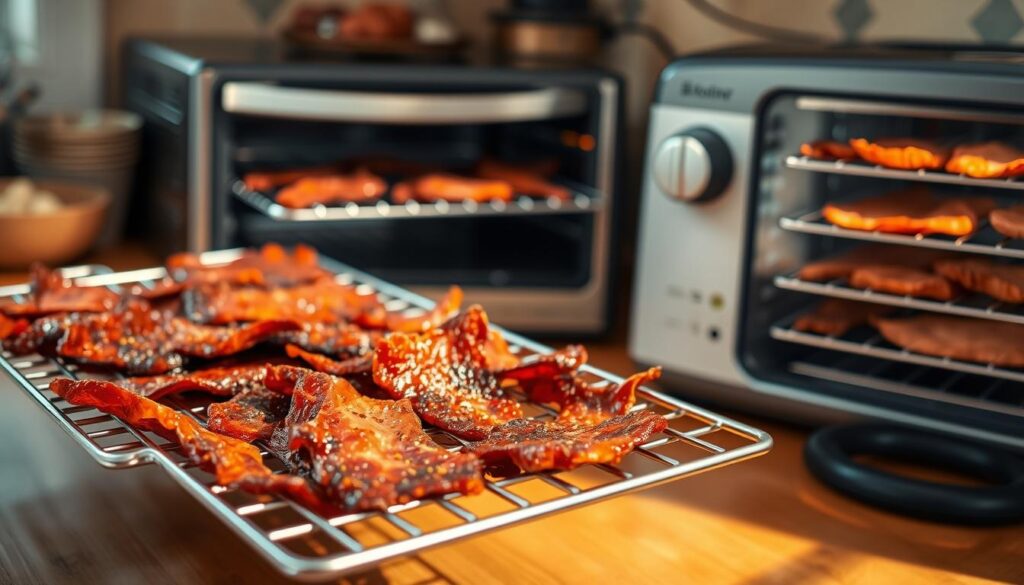
Temperature is key when making jerky in your oven. Set it to 175°F (79°C). This low, steady heat lets moisture evaporate slowly, keeping the meat tender.
Your setup is also critical. Cover baking sheets with aluminum foil to catch drips and clean up is a breeze. Place wire racks on the foil to let air flow around the meat. This ensures even drying and prevents moisture from building up.
Pro tip: Keep the oven door a bit open to let air in and out. A small wooden spoon can help keep the door open, creating the best conditions for making tasty homemade jerky.
Step-by-Step Drying Process
Making beef jerky at home needs care and patience. You can use an oven or a food dehydrator for jerky. The drying process is key to making tasty, long-lasting meat snacks.
Temperature Control Tips
Set your oven to a low temperature, between 165°F and 175°F. This keeps the meat safe and prevents it from getting too dry. If you’re using a dehydrator, it usually keeps the temperature steady. But with an oven, you need to watch it closely.
- Prop the oven door open slightly to improve air circulation
- Use an oven thermometer to verify accurate temperature
- Rotate trays every hour for even drying
Drying Time Guidelines
The time it takes to dry beef jerky depends on how thick the meat is and how chewy you like it. Usually, it takes 3-4 hours to get it just right.
| Meat Thickness | Estimated Drying Time | Texture Result |
|---|---|---|
| 1/4 inch | 3-4 hours | Tender |
| 1/2 inch | 4-5 hours | Chewy |
Testing for Doneness
To see if your jerky is done, do a bend test. It should crack slightly when bent but not break. Let a piece cool for 5-10 minutes, then check its texture.
- Look for a dry, leathery appearance
- Ensure no moisture beads form when pressed
- Texture should be firm yet pliable
Comparing Beef Jerky Dehydrator vs Oven Methods

When making beef jerky at home, you have two main choices. You can use a homemade beef jerky machine or your kitchen oven. Both methods have their own benefits for those who enjoy drying meat.
Oven drying is a popular choice for many. Your oven can become a great tool for drying meat with a little knowledge. The trick is to control the temperature and airflow right.
- Oven Method Advantages:
- More affordable than dedicated dehydrators
- Uses equipment most kitchens already own
- Allows precise temperature control
- Dehydrator Method Advantages:
- Consistent air circulation
- Designed for drying foods
- Multiple rack options
The main difference is in how heat is spread. Dehydrators keep temperatures even on all racks. Ovens might need tray rotation for even drying.
Experts suggest trying both methods to see what works best for you. Whether you choose a dehydrator or oven, keep temperatures low. This is key for safe and tasty jerky.
Storage and Preservation Tips
Storing your homemade beef jerky right is key to keeping its taste and preventing it from going bad. Whether you use a jerky making appliance or the oven, knowing how to store it is important. This way, you can enjoy your tasty snack for many weeks.
After making your jerky, cooling and storing it are very important. The goal is to get rid of as much moisture as you can during making.
Packaging Methods
Choosing the right packaging is vital to keep your jerky fresh longer. Here are some good storage options:
- Vacuum-sealed bags for maximum preservation
- Airtight containers with moisture-absorbing packets
- Ziplock bags with excess air removed
Shelf Life Guidelines
The life of your homemade jerky depends on how much fat it has and where you store it. Here’s a detailed guide:
| Storage Location | Fat-Trimmed Jerky | Jerky with Remaining Fat |
|---|---|---|
| Room Temperature | 1-2 weeks | 3-5 days |
| Refrigerator | 3-6 months | 1-2 weeks |
| Freezer | 6-12 months | 2-3 months |
Pro tip: Always check your jerky before eating it. If it smells bad, looks different, or has mold, throw it away.
By following these storage tips, you’ll keep your homemade jerky fresh longer. This ensures a tasty and safe snack every time.
Troubleshooting Common Issues

Making beef jerky can be tricky, even for experienced home cooks. When using an electric food dehydrator or your oven’s jerky drying rack, several common problems might arise during the preparation process.
Uneven drying is a frequent challenge many jerky makers encounter. To address this issue, try these strategies:
- Cut meat slices uniformly to ensure consistent thickness
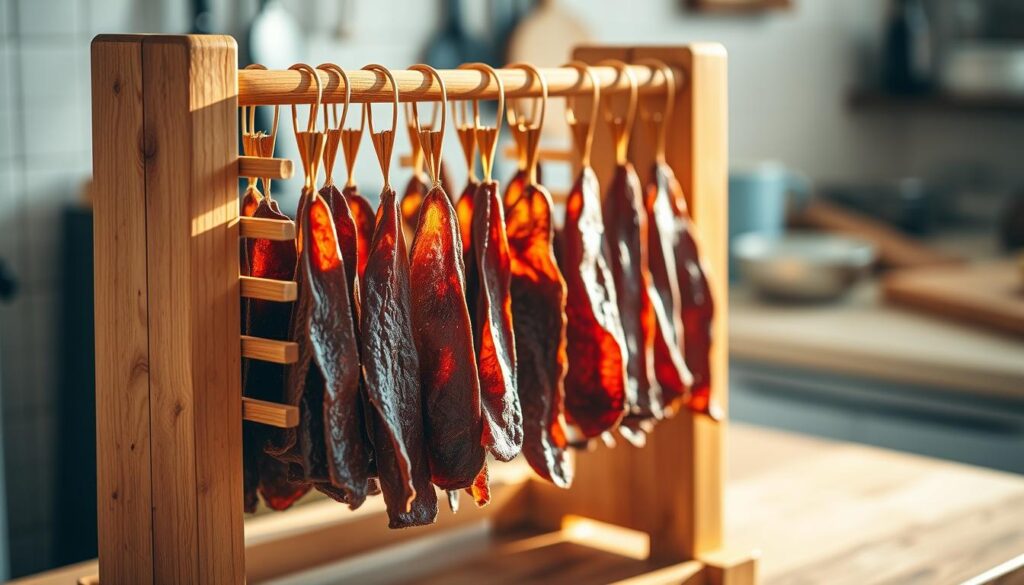
- Rotate your jerky drying rack midway through the drying process
- Use a fan to promote air circulation if using an oven method
Moisture control plays a critical role in successful jerky production. Excess moisture can lead to spoilage, while over-drying results in tough, leathery meat. Watch for these warning signs:
- Meat appears too soft or flexible
- Surface looks wet or shiny
- Pieces bend without cracking
When using an electric food dehydrator, check temperature settings carefully. Most models recommend temperatures between 145-165°F for beef jerky. If your jerky isn’t drying properly, adjust temperature and ensure proper air circulation.
Storage is key after successful jerky making. Properly dried beef jerky can be stored in an airtight container at room temperature for up to two weeks. For jerky with visible fat content, refrigeration is recommended to prevent spoilage.
Conclusion
Making beef jerky at home turns your kitchen into a top-notch meat preservation spot. Even a regular oven can make jerky as good as store-bought. With the right steps and care, you can make tasty snacks that beat what you buy.
Homemade jerky is more than saving cash. It’s about choosing what goes into your food, trying new flavors, and mastering a new skill. Every batch you make gets better, letting you play with spices and textures. You can make it spicy, sweet, or classic, making your kitchen a place for tasty protein snacks.
Your new skills will wow your loved ones with healthy, protein-rich treats. Start with simple recipes and then try more. Remember, the more you make, the better you get. Enjoy the journey and the tasty results of your homemade jerky.
Ready to turn your oven into a meat preservation machine? Get your ingredients ready, follow the guide, and start making jerky. It will excite your taste buds and show off your cooking skills.
FAQ
Can I make beef jerky without a specialized dehydrator?
What’s the best cut of beef for making jerky?
How long does homemade beef jerky last?
What temperature should I use to dry beef jerky in the oven?
How thick should I slice the meat for jerky?
Can I make jerky with different types of meat?
How can I tell when my jerky is done?
Is homemade jerky healthier than store-bought?
What are common mistakes to avoid when making jerky?
How long does it take to make beef jerky in the oven?
There are no reviews yet. Be the first one to write one.

