Panko Breaded Chicken Recipe – Easy & Crispy Every Time
Watching my grandmother turn chicken into golden, crispy magic was special. Panko breaded chicken is more than a meal. It’s a way to make simple ingredients into a crispy chicken cutlet that brings families together.
Imagine biting into a crispy exterior that reveals tender, juicy chicken beneath. This recipe makes it easy to get restaurant-quality results at home. It turns ordinary chicken into an extraordinary dish that everyone will love.
Whether you’re a busy home cook or someone who loves to cook, panko breaded chicken is perfect. It’s easy to make and tastes amazing. You’ll learn how to make crispy chicken cutlets that will become a family favorite.
Table of Contents
Understanding Japanese Panko Breadcrumbs and Their Unique Properties
Panko breadcrumbs are a culinary gem from Japan. They turn simple dishes into amazing meals. Unlike regular breadcrumbs, these Japanese bread crumbs add a special texture and crispiness. This makes your panko fried chicken recipe taste like it’s from a restaurant.
What Sets Panko Apart from Regular Breadcrumbs
Panko’s magic comes from how it’s made. It’s made from crustless white bread, unlike regular breadcrumbs. Here’s how it’s different:
- Electrically charged to create light, airy flakes
- Dried using special techniques
- Resulting in larger, more irregular crumb shapes
Remarkable Benefits of Panko Breading
Using panko in your cooking brings many benefits:
- Superior crispiness that stays crunchy longer
- Less oil absorption during frying
- Lighter, more delicate coating
- Enhanced visual appeal of dishes
Proper Storage for Maximum Freshness
To keep your panko fresh, store it in an airtight container. Keep it in a cool, dry place. Stored properly, panko can last up to six months. This means you’re always ready to make a perfect panko fried chicken recipe.
Essential Ingredients for Perfect Panko Breaded Chicken
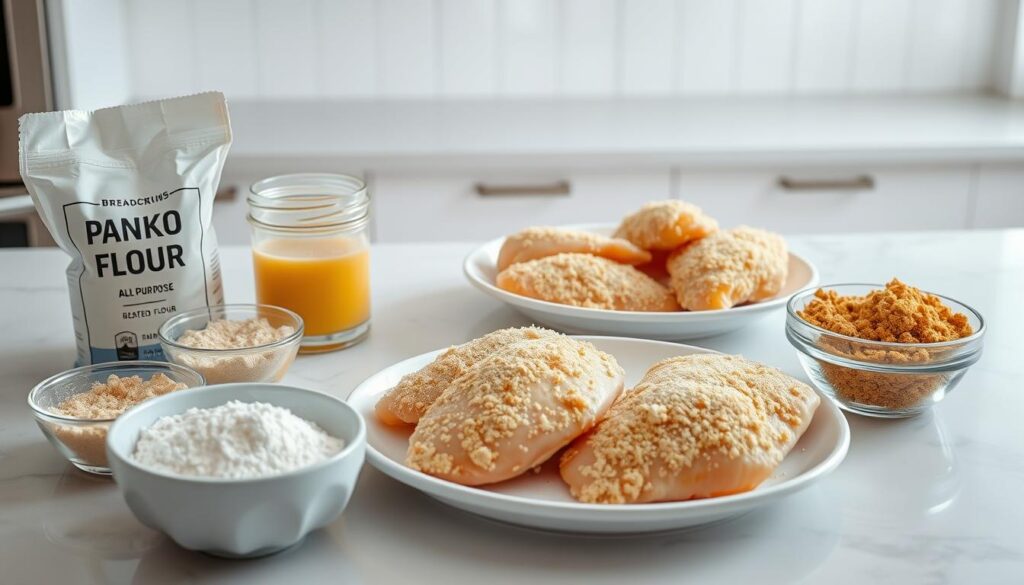
Starting with the right ingredients is key to making delicious crunchy chicken tenders. Your homemade panko chicken needs the right mix to get that golden-brown crunch everyone loves.
High-quality chicken breast is the base of great crunchy chicken tenders. Choose fresh, boneless, skinless chicken breasts that are the same thickness for even cooking.
- Chicken breast fillets (preferably 6-8 oz each)
- Large eggs (for binding the breading)
- Panko breadcrumbs
- Seasonings: garlic powder, smoked paprika, salt, black pepper
Spices are important for making your homemade panko chicken special. A mix of seasonings turns plain chicken into a flavorful meal.
| Ingredient | Purpose | Recommended Quantity |
|---|---|---|
| Chicken Breast | Protein base | 6-8 oz per serving |
| Panko Breadcrumbs | Crispy coating | 1-2 cups |
| Eggs | Breading adhesion | 2-3 large eggs |
| Cooking Oil | Frying medium | 1/2 cup vegetable or canola oil |
The secret to crunchy chicken tenders is Japanese panko breadcrumbs. They make a light and crispy exterior that will make your chicken irresistible.
Step-by-Step Guide to Preparing the Chicken
Getting your easy panko chicken just right starts with picking and handling your chicken breasts carefully. The right steps can greatly improve the taste and texture of your baked panko chicken breast.
Proper Chicken Cutting Techniques
To cook chicken evenly, focus on making uniform pieces. Here are some important techniques:
- Pound chicken breasts to an even ¼ inch thickness
- Slice larger breasts in half lengthwise
- Use a sharp knife for clean, precise cuts
- Pat chicken dry with paper towels to remove excess moisture
Seasoning and Marination Tips
Flavor is key when making easy panko chicken. Here are some seasoning tips:
- Marinate chicken for 30 minutes to 2 hours
- Use herbs like parsley, thyme, or rosemary
- Add salt and pepper to enhance natural flavors
- Consider buttermilk or yogurt-based marinades for tenderness
Temperature Considerations
Temperature is very important for perfect baked panko chicken breast. Take chicken out of the fridge 15-20 minutes before cooking. This ensures it cooks evenly and avoids cold spots that can make the texture uneven.
Pro tip: Use a meat thermometer to check that your chicken reaches an internal temperature of 165°F (74°C) for safe consumption.
The Perfect Breading Station Setup

Setting up a good breading station is key for crispy chicken cutlets. It impresses everyone. A well-organized space makes breading fun and easy.
To create your perfect breading station, you need three shallow dishes. Each dish is important for crispy chicken:
- First dish: All-purpose flour seasoned with salt, pepper, and your favorite herbs
- Second dish: Beaten eggs whisked until smooth
- Third dish: Panko breadcrumbs mixed with additional seasonings
Keeping your station clean and organized is vital. Use one hand for dry ingredients and the other for wet. This avoids messy hands and ensures even coating.
Here are some seasoning tips to make your chicken even better:
- Flour station: Add garlic powder, paprika, and dried herbs
- Egg station: Mix in a splash of hot sauce or Dijon mustard
- Panko station: Incorporate grated Parmesan or dried herbs for extra flavor
Place your dishes in order: flour, eggs, panko. This order makes breading smooth and fun.
Mastering the Panko Breaded Chicken Technique
Making perfect homemade panko chicken needs skill and precision. The breading step is key for that crunchy texture everyone loves. Learning this technique will boost your cooking and wow your loved ones.
Double Breading Method for Maximum Crispiness
The double breading method makes chicken extra crispy. Here’s how to do it:
- First, dip your chicken in seasoned flour
- Next, coat thoroughly in egg wash
- Roll in panko breadcrumbs
- Repeat the egg wash and panko coating for a second layer
Common Breading Mistakes to Avoid
Avoid these common mistakes to prevent soggy or uneven breading:
- Skipping the pat dry step before breading
- Using wet hands during the breading process
- Overcrowding the breading station
- Not letting excess egg drip off before coating
Tips for Perfect Even Coating
Get a professional look with these coating tips:
- Use one hand for wet ingredients, another for dry
- Gently press panko onto chicken to ensure adhesion
- Let breaded chicken rest for 10-15 minutes before cooking
- Shake off excess breadcrumbs for a light, crispy texture
With these tips, you’ll make crunchy chicken tenders. They’ll be crispy outside and juicy inside. Remember, practice makes perfect, so don’t worry if it takes a few tries.
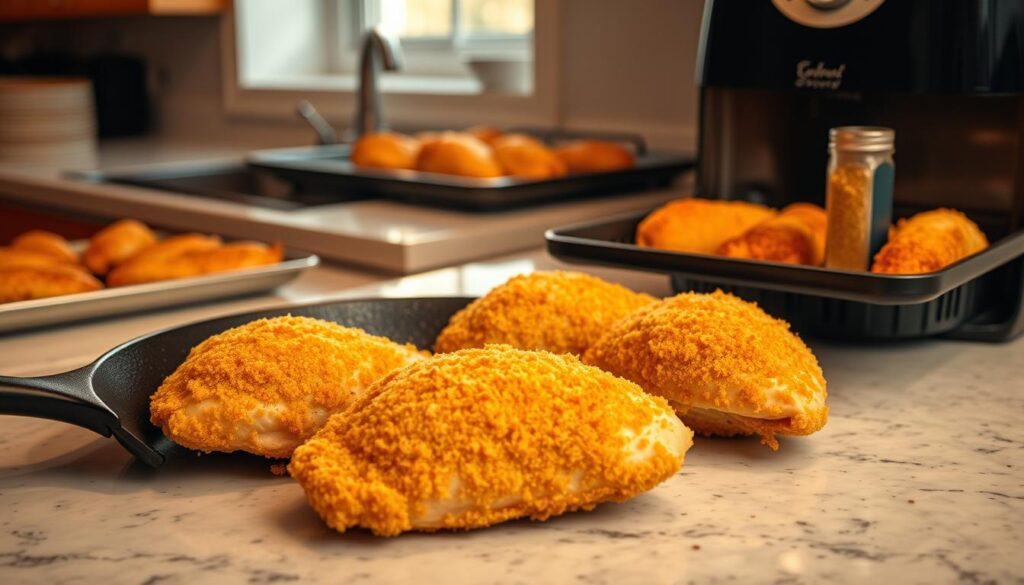
Cooking Methods: Pan-Frying vs. Baking vs. Air Frying
Preparing a delicious panko fried chicken recipe requires understanding different cooking techniques. Each method offers unique advantages for achieving crispy, golden-brown chicken that will delight your taste buds.

When it comes to cooking panko breaded chicken, you have three primary options:
- Pan-Frying: The classic method for achieving maximum crispiness
- Baking: A healthier alternative for panko chicken breast
- Air Frying: A modern technique for quick and crisp results
Pan-frying your panko fried chicken recipe creates an incredibly crisp exterior. Use a mixture of butter and oil heated to 350°F for the best results. The key is maintaining consistent oil temperature to prevent soggy breading.
For a baked panko chicken breast, preheat your oven to 350°F. Arrange chicken on a wire rack over a baking sheet to ensure even cooking. This method reduces oil consumption while maintaining a satisfying crunch.
Air fryer panko chicken offers the fastest cooking time. Set your air fryer to 325°F and cook for 3-4 minutes. This method provides a crispy texture with minimal oil, making it an excellent choice for health-conscious home cooks.
| Cooking Method | Temperature | Cooking Time | Texture |
|---|---|---|---|
| Pan-Frying | 350°F | 4-5 minutes | Extremely Crispy |
| Baking | 350°F | 8-10 minutes | Moderately Crispy |
| Air Frying | 325°F | 3-4 minutes | Crisp and Light |
Choose the cooking method that best suits your time, health preferences, and flavor expectations. Each technique will transform your panko breaded chicken into a mouth-watering meal.
Temperature Control and Cooking Times
Mastering temperature control is key for a great panko chicken recipe. The right temperatures make your panko fried chicken crispy, golden, and perfectly cooked every time.
Oil Temperature Management
Keeping the oil at the right temperature is essential for a crispy exterior. When deep-frying your panko chicken, aim for a consistent 350°F. Here are some tips for managing oil temperature:
- Use a digital thermometer for accurate readings
- Avoid overcrowding the pan to maintain steady temperature
- Adjust heat to keep oil between 340-360°F
Internal Temperature Guidelines
Food safety is very important when cooking chicken. For a simple panko chicken dish, use a meat thermometer. Make sure the internal temperature reaches 165°F. This ensures the chicken is fully cooked and safe to eat.
| Cooking Method | Target Internal Temperature | Cooking Time |
|---|---|---|
| Deep Frying | 165°F | 3-4 minutes per side |
| Baking | 165°F | 20-25 minutes |
| Air Frying | 165°F | 10-12 minutes |
Resting Period Importance
After cooking, let your panko fried chicken rest for 5-10 minutes. This step is very important. It allows juices to redistribute, making each bite moist and flavorful. Resting prevents the chicken from becoming dry and keeps its crispy panko coating.
Serving Suggestions and Accompaniments
Your crispy chicken cutlets need great side dishes to make the meal unforgettable. The right sides can turn your crunchy chicken tenders into a dish fit for a restaurant.
Dipping sauces are key to boosting your panko-breaded chicken’s flavor. Here are some top picks:
- Classic ketchup
- Tangy honey mustard
- Smoky BBQ sauce
- Creamy ranch dressing
- Spicy sriracha mayo
Choose side dishes that offer different textures and tastes to go with your crispy chicken. Here are some tasty choices:
- Roasted vegetables
- Creamy mashed cauliflower
- Crisp garden salad
- Garlic herb rice
- Air fryer roasted broccoli
Make your crunchy chicken tenders into many dishes. Try making chicken sandwiches, topping salads, or serving with pasta. This will make a dinner that wows everyone.
Pro tip: Garnish your plate with fresh herbs like parsley or chives. This adds color and fresh taste to your crispy chicken cutlets.
Storage and Reheating Guidelines
Proper storage and reheating are key to enjoying your panko breaded chicken. This ensures your meals stay crispy and delicious for days. Keeping the chicken fresh is all about the right storage.
For short-term storage, the fridge is best. Put your leftovers in an airtight container. Use parchment paper to keep layers dry. This way, your chicken stays good for 3-4 days.
Freezing Techniques
Freezing is great for longer storage. Here’s how to keep your chicken fresh:
- Cool the chicken completely before storing
- Wrap individual pieces in plastic wrap
- Place wrapped pieces in a freezer-safe container
- Freeze for up to 3 months
Reheating Methods
Use these methods to get your chicken crispy again:
- Oven Method: Preheat to 350°F, place chicken on a wire rack, and heat for 8-10 minutes
- Air Fryer Method: Heat at 325°F for 3-4 minutes until crispy
Don’t use the microwave, as it can make the breading soggy. Always check the chicken’s internal temperature reaches 165°F for safety.
Conclusion
Creating crispy chicken cutlets with panko breadcrumbs is a fun journey. It turns simple chicken into a dish fit for a restaurant. Your skills in making panko breaded chicken will wow your loved ones.
The secret to success is knowing how panko breadcrumbs work and mastering the breading process. Remember, the more you practice, the better you’ll get at making those crispy chicken cutlets. Try out different seasonings and cooking methods to add your own twist.
Whether you pan-fry, bake, or air fry your chicken, it will always be delicious. Start with the basic recipe and grow your confidence in cooking. Each try will help you get closer to that perfect crispy outside and juicy inside.
Don’t hesitate to be creative and make this recipe your own. With what you’ve learned, you can make restaurant-quality panko breaded chicken at home. You’ll impress everyone with your cooking skills.
FAQ
What are panko breadcrumbs?
Can I make panko breaded chicken without eggs?
Is panko breaded chicken gluten-free?
What’s the best way to keep panko breaded chicken crispy?
How long can I store panko breaded chicken?
Can I bake panko breaded chicken instead of frying?
What are the best dipping sauces for panko breaded chicken?
How do I prevent the breading from falling off while cooking?
There are no reviews yet. Be the first one to write one.

